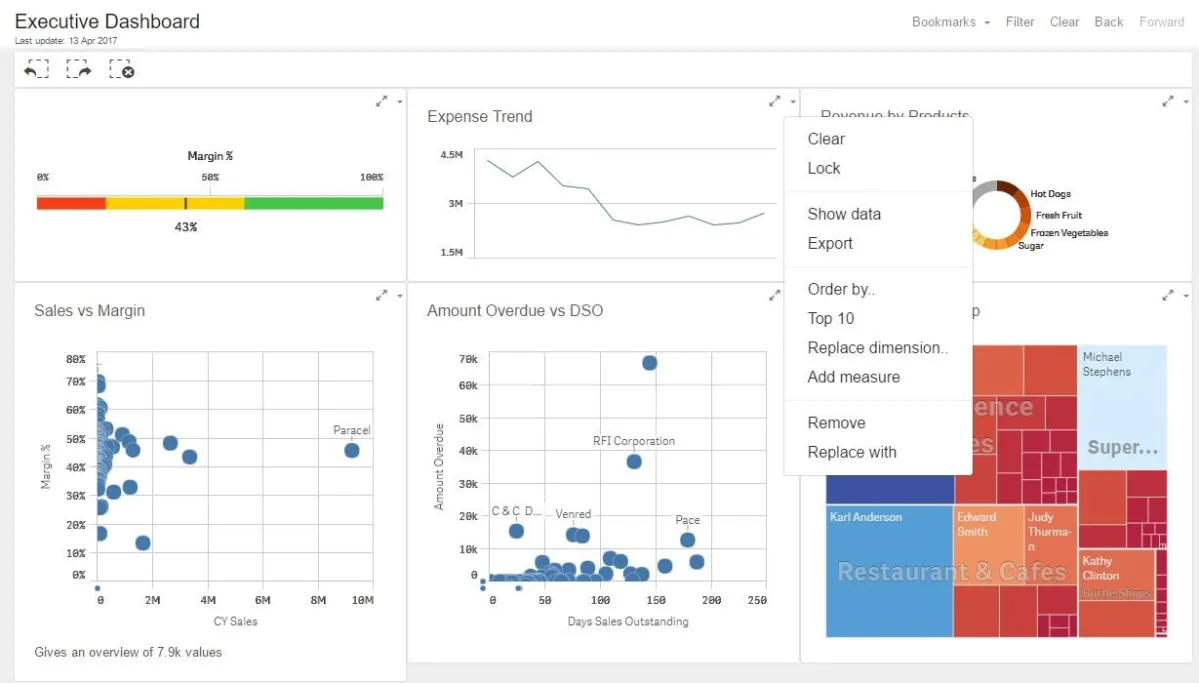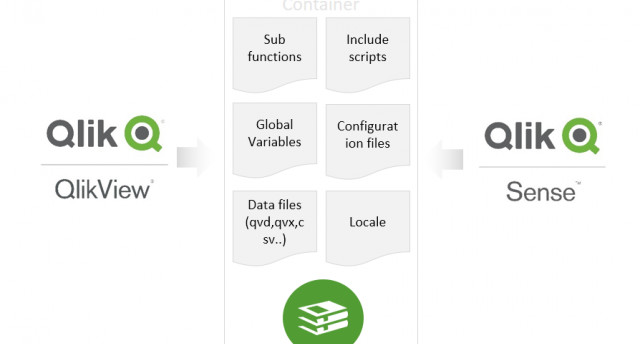
For any business, delivering an intuitive user experience is just as vital as providing accurate data insights in the realm of intelligence and analytics. Ensuring a seamless interface that enhances how users interact with data is key to maximizing the value derived from business intelligence tools. Qlik Sense offers a powerful platform for building custom visualizations and applications, but one of its most exciting features is Custom Mashup. A Qlik mashup allows you to integrate Qlik visualizations and data with external web content, creating a custom interface tailored to specific business needs.
Once you’ve developed your custom mashup, the next step is to deploy it to a production environment where it can be accessed by users. In this blog post, we’ll walk through the hands-on process of deploying a Qlik mashup to production, covering key steps, best practices, and tips to ensure a smooth deployment.
What is a Qlik Mashup?
A Qlik mashup combines Qlik Sense objects (like charts, tables, and dashboards) with other web elements such as HTML, CSS, and JavaScript. This flexibility allows developers to create highly personalized applications that integrate data-driven insights with other web services or UI components. (Ref: Qlik Deployment & Version Control for Application Management)
When you’re ready to move your mashup from development to production, it’s important to follow a structured process to ensure the deployment is clean, efficient, and reliable.
Steps to Deploy a Custom Mashup to Production
Step 1: Prepare Your Mashup for Production
Before deploying, ensure that your mashup is fully tested and optimized. Here are some key things to check:

- Test All Features: Make sure all interactive elements, filters, and visualizations in the mashup function correctly.
- Optimize Performance: Mashups can be complex, so it’s crucial to optimize the performance. Ensure that the load times are quick and that the mashup doesn’t burden the server with excessive requests.
- Cross-Browser Compatibility: Check that the mashup works seamlessly across all target browsers (Chrome, Firefox, Edge, etc.) and devices.
- Responsive Design: Since mashups can be used on various devices, ensure your design is responsive. Test on mobile and tablet views to verify the layout adapts properly.
- External Dependencies: If your mashup uses external JavaScript libraries or APIs, ensure these resources are properly included and accessible in the production environment.
Step 2: Set Up the Hosting Environment
A mashup typically needs to be hosted on a web server. Here are the general steps for setting up the hosting environment:
- Choose a Hosting Platform: You can host your mashup on any standard web server (Apache, Nginx, or a cloud provider like AWS or Azure). Make sure the platform supports HTTPS for secure data transmission.
- Upload Your Files: After development, upload your mashup files (HTML, CSS, JavaScript) to the chosen server. Ensure that all necessary resources (such as images, fonts, or external libraries) are also hosted correctly.
- Set Permissions: Verify that the correct user permissions are set for accessing the mashup. This ensures that only authorized users can view or interact with the mashup in the production environment.
Step 3: Integrate Qlik Sense with Your Mashup
The real power of a Qlik mashup lies in its ability to pull data from Qlik Sense apps and display it within the custom interface. For this to work in a production environment, you need to configure the integration properly.
- Use the Qlik APIs: Mashups rely on Qlik’s Capability APIs and Engine APIs to interact with the data. Make sure that your mashup’s code correctly connects to the Qlik Sense server and retrieves the necessary data objects.Example API calls:
- Use the
global.createSessionObject()API to create and render Qlik visualizations in your mashup. - Integrate filtering, selections, and other Qlik capabilities using JavaScript.
- Use the
- Authentication: In production, it’s important to ensure that users are authenticated correctly. If your Qlik Sense instance is using Single Sign-On (SSO) or other authentication mechanisms, make sure your mashup can integrate with these methods.
Step 4: Update Security Rules and Permissions
Security is a critical aspect of deploying any Qlik application. Before releasing your mashup to production, ensure that proper security rules are set up to control access:
- Set Permissions for Mashup Access: In Qlik Management Console (QMC), configure security rules to control who can access the mashup. You may want to restrict access to certain user groups, for example, limiting the mashup to managers or specific departments.Tip: Ensure that users can only view data relevant to them by implementing row-level security in Qlik Sense.
- Cross-Domain Security: If your mashup needs to pull data from external domains (such as APIs or data sources), ensure that CORS (Cross-Origin Resource Sharing) is configured properly in your server settings.
Step 5: Test the Mashup in the Production Environment
Once the Custom Mashup is deployed and integrated, thorough testing is essential to ensure that everything functions as expected:
- Test Functionality: Ensure that all visualizations, filters, and user interactions work seamlessly in the production environment. Test against real data to ensure everything loads correctly and is responsive.
- Load Testing: If your Custom Mashup is expected to handle heavy traffic, conduct load testing to simulate multiple users and ensure that the performance remains stable under load.
- Error Handling: Test how your Custom Mashup handles errors. Are error messages displayed clearly? Is there fallback behavior in place if a data connection is lost?
Step 6: Monitor and Maintain the Mashup
Deployment doesn’t end once the Custom Mashup is live. To ensure ongoing success, it’s important to actively monitor and maintain the mashup:
- Monitor Server Health: Ensure the web server is running smoothly and has enough resources to handle traffic. Set up alerts for any issues.
- Track User Feedback: Regularly collect feedback from users to identify any pain points or areas for improvement in the mashup.
- Update and Optimize: As business needs evolve, you may need to update your mashup. Keep your Custom Mashup dependencies and Qlik Sense apps updated, and always test changes in a staging environment before rolling them out.
Final Thoughts
Deploying a custom mashup to a production environment in Qlik is a powerful way to deliver a personalized, integrated user experience. By following a structured approach, including preparing your mashup, setting up the hosting environment, integrating with Qlik Sense, and ensuring proper security, you can successfully deploy Custom Mashup that deliver meaningful data insights to users.
Continuous testing and monitoring are key to ensuring that your mashup remains effective and provides value over time. As businesses evolve, so should your mashups, ensuring that they continue to meet user needs and deliver a seamless experience. With the right strategy in place, your Custom Mashup Qlik can become an essential part of your organization’s data-driven decision-making process.

